Two Fun Quail Egg Easter Crafts
Crafts with quail eggs? No, you didn’t hear us wrong!
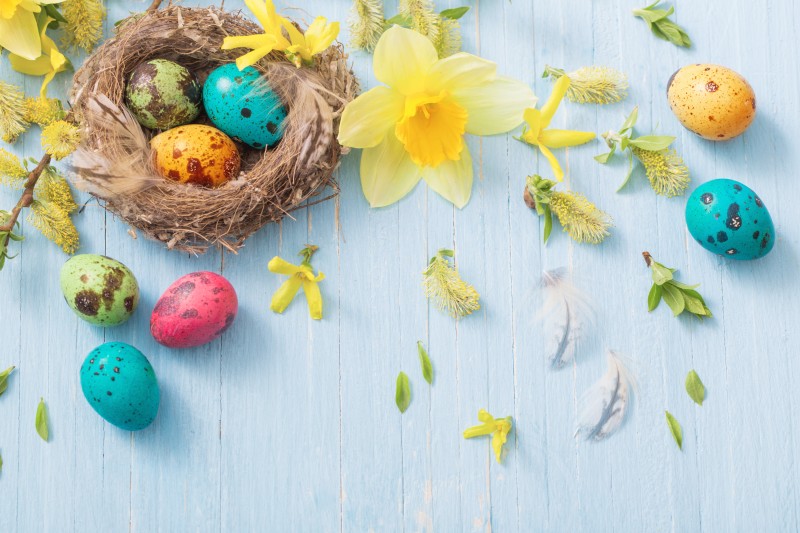
Inspired by the traditional egg craft — Easter eggs — here are two ways to get crafty with quail eggs at home!
Getting your quail eggs ready for crafting
There are two ways to get your eggs prepped for crafting.
The first and easier method is to hard-boil the eggs with the plan to eat them later on, keeping them refrigerated in the meantime. Make sure you eat them within a week of boiling!
The second is to “blow out” the eggs. This process is a bit more involved, but it’s worth it as you can display your crafts for longer!
Gently wash your quail eggs in soapy water.
Use a needle or something equally thin and sharp to prick a hole in the top and bottom of your egg. Poke deep into the egg to break the yolk, then swish it around a bit. (This makes it easier to blow everything out.)
Now comes the fun part — blow your egg’s contents into a bowl. (You can save these for breakfast or one of our recipes using scrambled eggs!)
For both methods, make sure the eggs have had time to dry out before you do anything with them!
Craft #1: Pastel-Dyed Quail Easter Eggs
For this craft, you’ll need:
Boiled or blown-out quail eggs
Food colouring
White vinegar
Water
Set out enough small bowls for however many colours you want to use (remember you can adjust colours by adjusting the amount of soaking time).
For each colour, combine 1 cup hot (not boiling) water with 1/4 cup of white vinegar. Add food colouring until your reach your desired colour is reached!
For the cute pastel colours associated with spring and Easter, let the eggs soak for a minute or less. For deeper colours, let the eggs soak in the colouring mixture for two minutes or more.

Craft #2: Hand-Foraged Quail Egg Nest
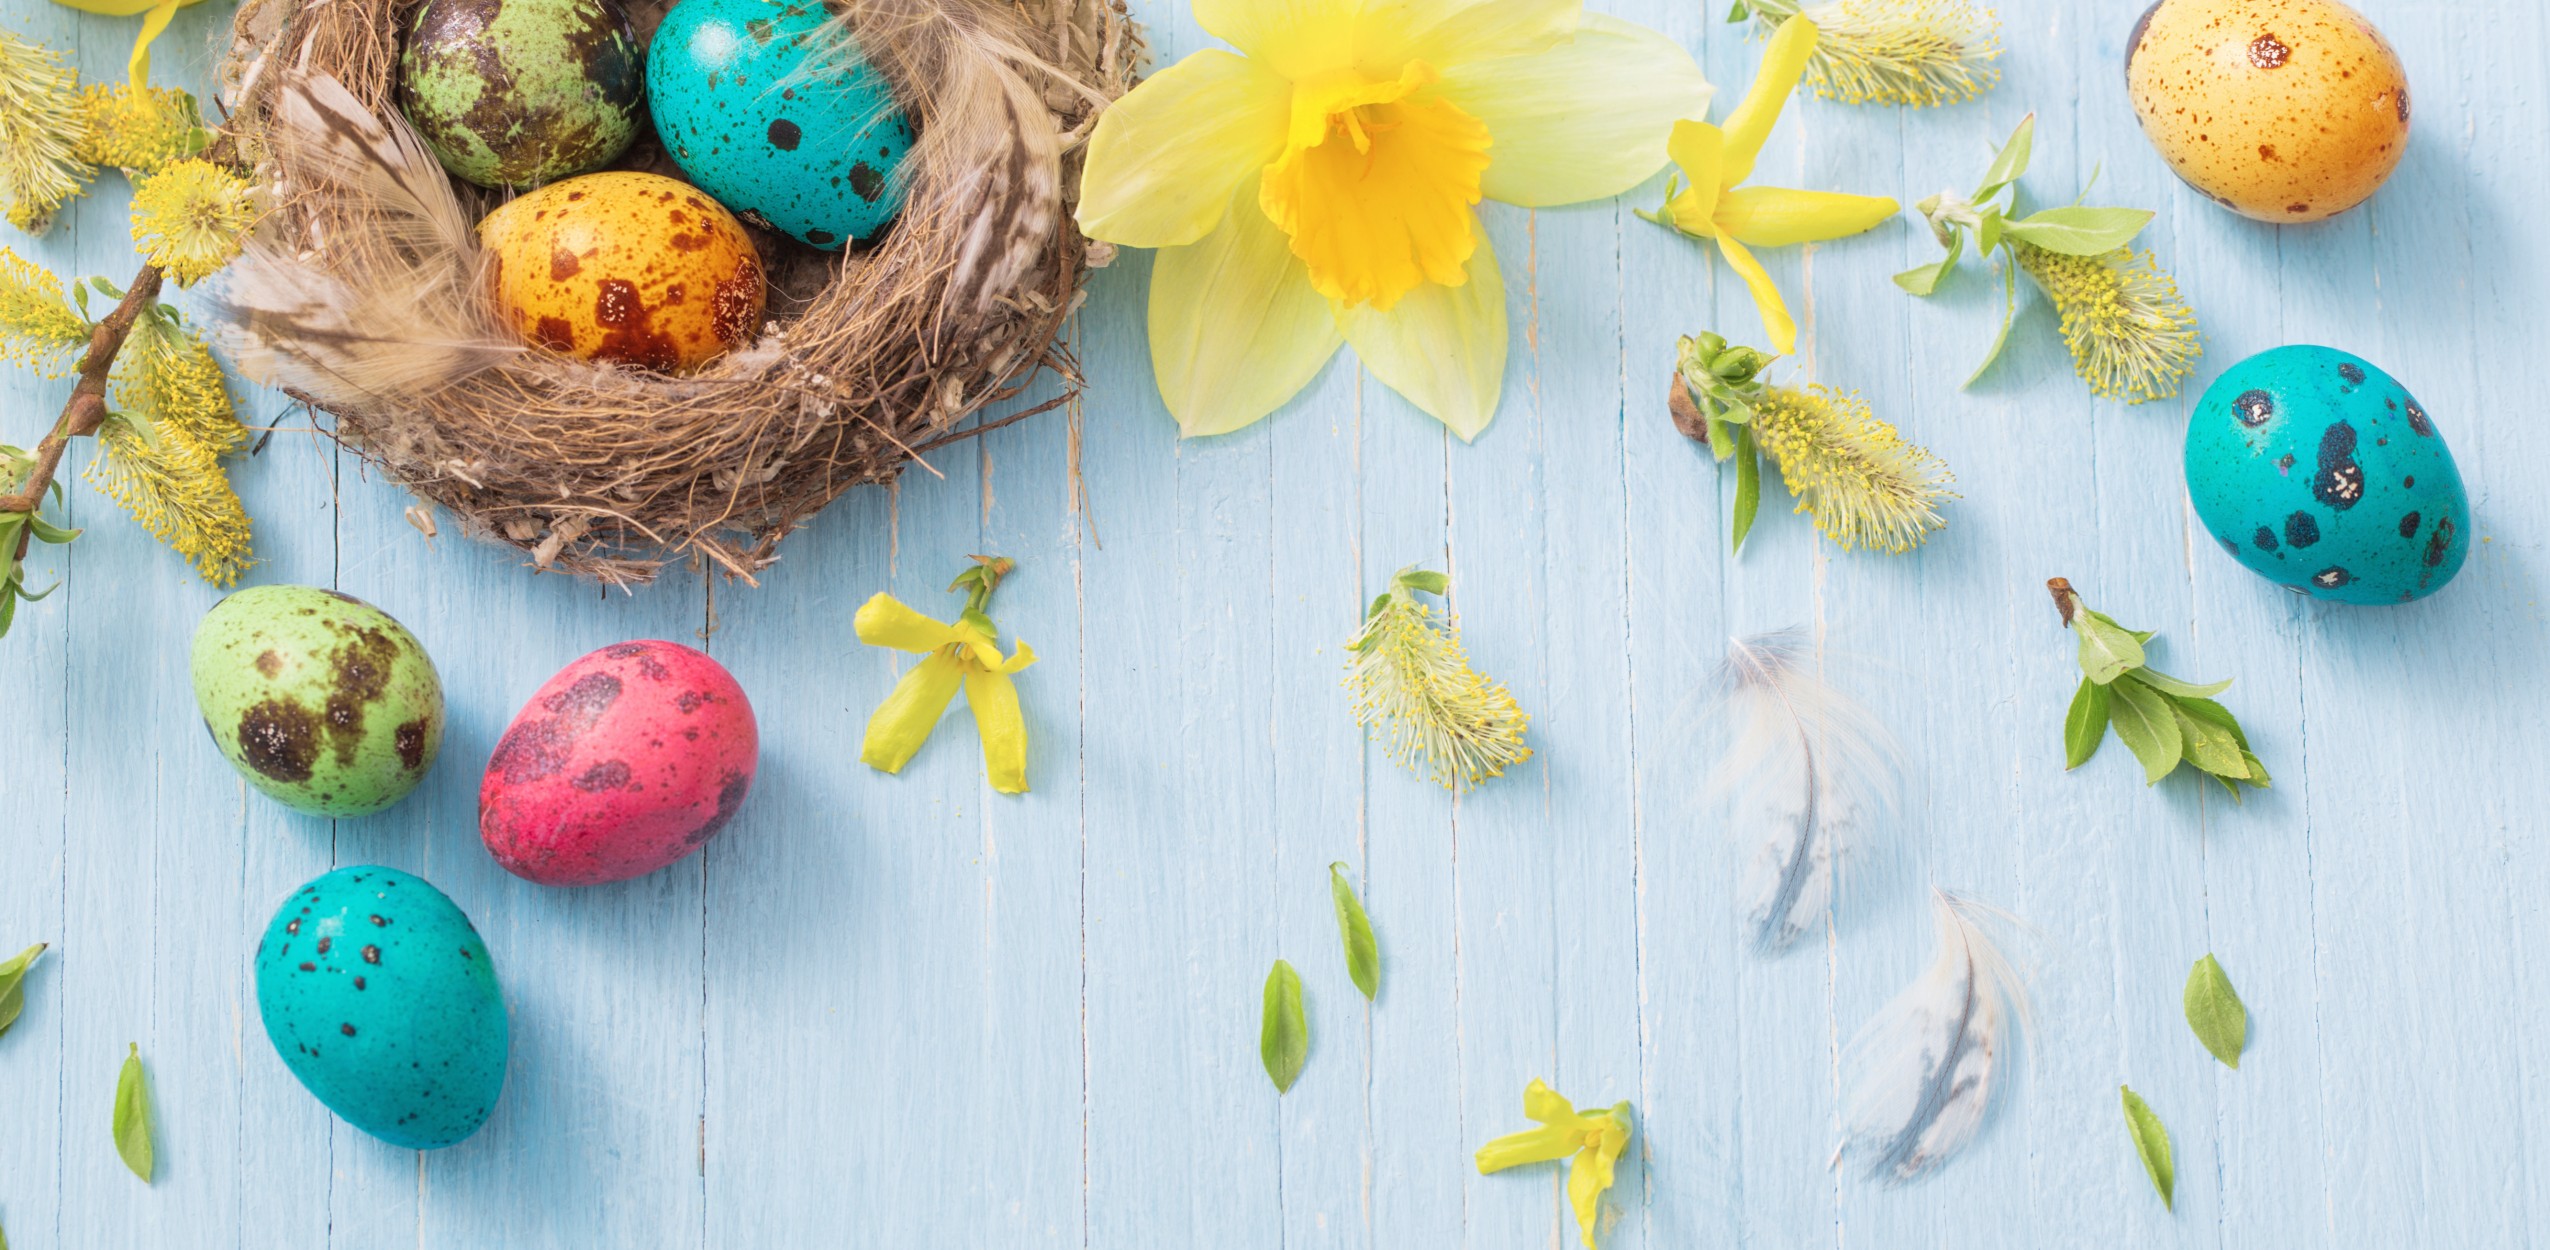
Now that you have some beautiful Easter eggs, where to put them? Leaving them in a bowl or on a tablecloth is easy enough, but if you’re feeling extra crafty you can take it to the next level. With a hand-foraged and handmade bird nest!
Nests are evocative of the new life of spring and bring the mind the birds chirping more and more each morning.
These homemade nests take about 30 minutes to make. For materials, you’ll need to gather…
A grass to make the nest with. Raffia (available at most craft stores), bundles of willow sticks or even dried reeds and grasses from around the garden work well. Make sure your sticks or stems are 30–45cm in length.
A handful of bobby pins or clothespins for keeping the nest together. Wire or string work as well.
Some craft glue for a little extra support.
Now that you have everything, putting it together is the fun part. Make sure you do it in a place that’s easy to sweep when you’re done!
Take a thick handful of your stems or grass. Bend it into a tight tire or wreath shape. Then secure it in place with string, wire or pins. Add some glue to keep it together if you like — this way you can remove the string, wire and pins afterwards. You should be left with a hoop shape — don’t worry about the bottom just yet!
Trim off some or all of the bits that stick out — how messy you want it is up to you. Use your cuttings, or another bundle of grass to make a base for your nest, attaching it to your hoop the same way you made the hoop — with string, wire, pins and/or glue. If you’re using “blown out” eggs, you’ll have no problem supporting them with this. But if you’re putting hard-boiled eggs in, you may need to put the nest on a bowl or plate for extra support when displaying.
Accessorize your nest with moss, feathers, leaves, pebbles or bits of string. Once you’re satisfied, it’s ready to display your eggs!
So there you have it — two wonderful Easter quail egg crafts! Display them with pride throughout the house, or even as an outdoor decoration.
If you’re curious about where to find quail eggs to craft with, check out our store finder tool to find a store near you.


